Recipe used with permission by The Real Food Dietitians. The recipe originally appeared here The Real Food Dietitians
Prep Time: 1 hr
Materials You’ll Need:
Glass Jar (Quart, wide mouth)
Knife or Mandoline slicer
Cutting Board
Large Mixing Bowl
Freezer bag (Quart)
Lid (plastic or metal)
Airlock, (optional)
Ingredients
- 1 ½ – 2 pounds cabbage
- 1 ½ – 2 tsp. sea salt (not iodized salt)
Directions
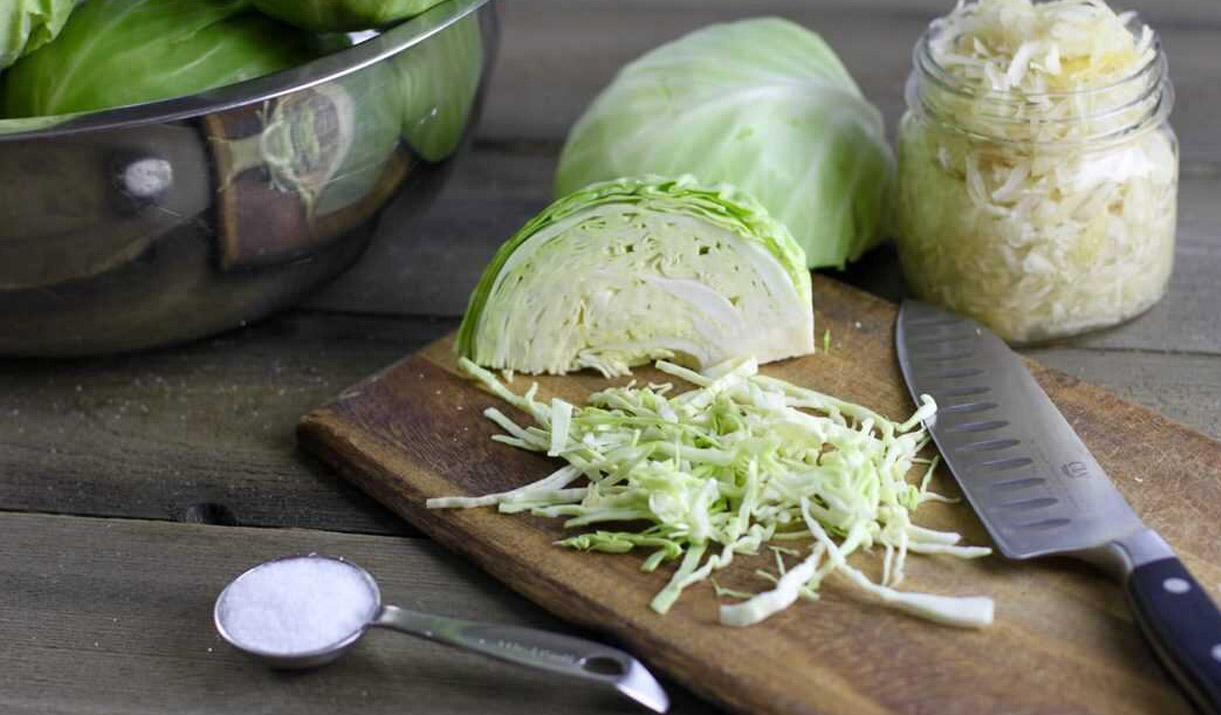
- Rinse cabbage in cool water, and remove the outer leaves. Set aside a few unblemished leaves to use as a cover later.
- Quarter the cabbage and remove the core. Thinly slice the cabbage with a knife or mandoline slicer then transfer cabbage to a large bowl.
- Add 1 teaspoon of salt and hand massage it into the cabbage. When the cabbage starts to look wet and shiny, taste it. You should be able to taste the salt without it being overwhelming.
- Add more salt, a little at a time, if needed to create a brine. Continue to massage until the cabbage becomes wet and tender, and brine begins to pool in the bottom of the bowl. If you’ve worked the cabbage and don’t have much brine, cover the bowl and allow it to sit for 45 minutes. Massage again until the liquid runs freely when you squeeze a handful of cabbage in your hands.
- Transfer the cabbage to a clean mason jar ( 1 quart) a few handfuls at a time, stopping to press the cabbage into the bottom of the jar using your hand to work out any air pockets before you add more cabbage. You should have some brine on top of the cabbage once it’s all been pressed into the jar. Leave 2-3 inches of space at the top of the jar. If you have too much cabbage, place some in another clean jar to make a second batch.
- Place the plastic freezer bag into the jar and use your fingers to spread it out so that it covers as much of the cabbage leaf as possible. Fill the bag with cool filtered water and seal it while pressing out as much of the air as possible. Tuck the top of the bag into the jar. If using a lid with an airlock, screw lid on tightly, fill airlock to ‘Fill’ line with water and snap airlock cap in place. If not using an airlock, very loosely screw lid onto jar (so that gases created during fermentation can escape)
- Place the jar on a baking sheet or tray out of direct sunlight (55-75℉) to ferment for 4-14 days. The best location is somewhere dark, as long as it won’t be forgotten!
- Check your ferment everyday to be sure the cabbage is under the brine. “If it’s under the brine, everything’s fine!”
- If you see air pockets or notice that the brine is not completely covering the cabbage, carefully remove the lid and zip-top bag and with clean hands, gently press the cabbage down to return everything to below the brine.
- Taste test your kraut starting at Day 4 by carefully removing the bag with clean hands. Use a plastic or wooden fork to gently push the cabbage leaves aside and remove a small taste. It’s ready when it tastes pickle-y without the strong acidity of vinegar. The cabbage will have softened a bit, but retains some crunch. It will be more yellow than green and slightly translucent (like it’s been cooked). If it’s not ready, rinse the bag under running water and carefully place it back in the bag so that all of the cabbage is below the brine. Taste again in another day or two to see what you think. When it’s pleasing to your tastebuds (and/or less than a pH of 4.6 as measured with a pH strip), skim off any scum from the surface and transfer your finished kraut into clean glass jar, tamping it down with your clean hand, a tamper or handle of a wooden spoon. Pour any leftover brine into the jar. You may also top with a small circle of parchment paper by lightly pressing it onto the surface. Tighten the lid and refrigerate for up to 6-12 months.